Savor the Flavor – Try Our Best Recipes Today!

bBQ Rub Recipes 10 Secrets Every Grill Master Uses
BBQ Rub Recipes : Did you know that 73% of amateur grillers use store-bought rubs while championship pitmasters create their own signature blends? This striking disparity reveals one of the most overlooked aspects of BBQ mastery. While most backyard enthusiasts focus on meat selection and cooking techniques, the real secret to extraordinary BBQ lies in mastering homemade BBQ rub recipes that transform ordinary cuts into competition-worthy masterpieces.
Creating your own spice blends isn’t just about saving money—it’s about developing a personalized flavor profile that becomes your signature. Professional pitmasters spend years perfecting their dry rub formulations, understanding how different spices interact with various meats and cooking methods. Today, we’re revealing the 10 closely-guarded secrets that separate weekend warriors from true grill masters, giving you the insider knowledge to elevate your BBQ game dramatically.
Whether you’re preparing for your first backyard cookout or aiming to dominate your local BBQ competition, these time-tested BBQ rub recipes and techniques will revolutionize how you approach seasoning. Get ready to discover why the right spice blend can make the difference between good BBQ and unforgettable BBQ.
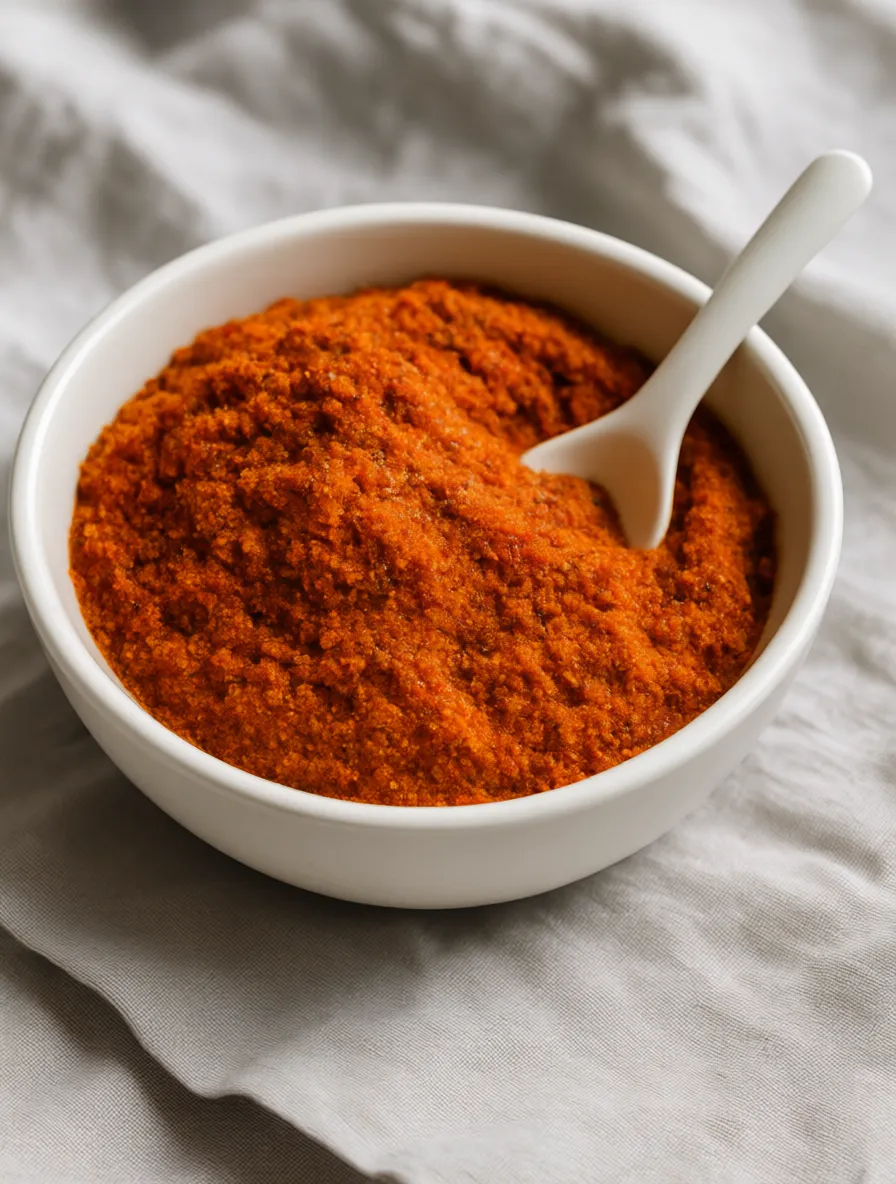
BBQ Rub Recipes Ingredients List
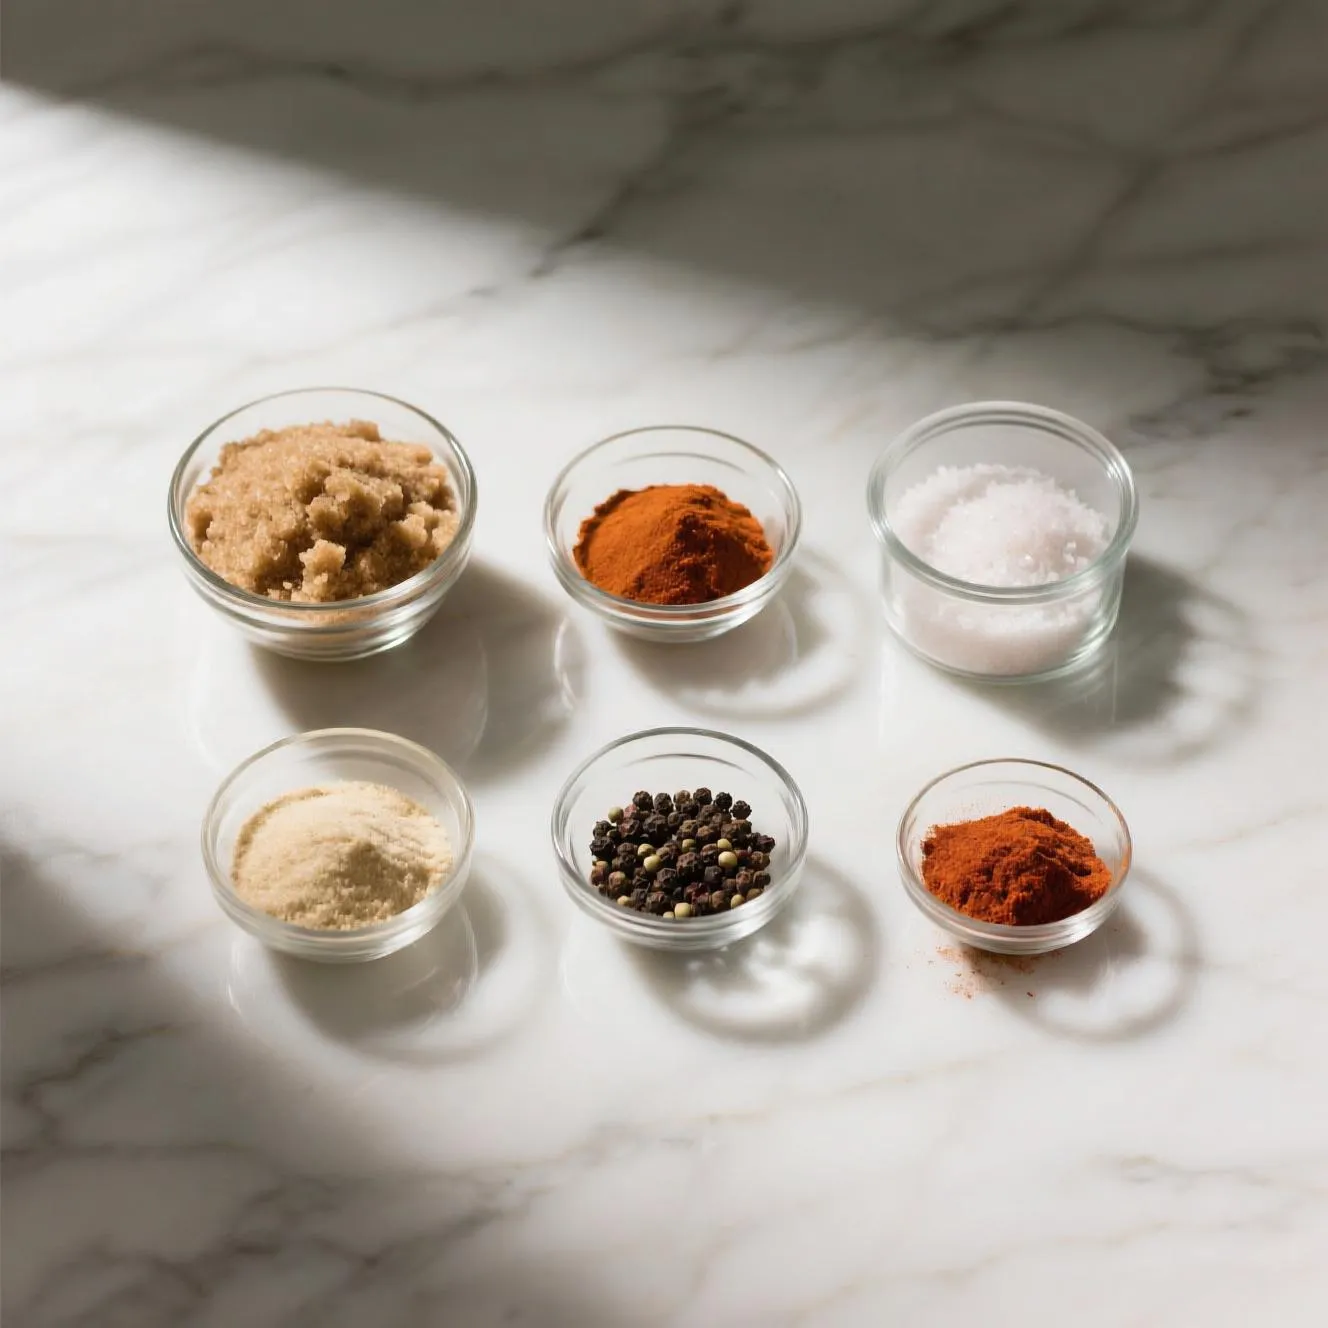
Essential Base Ingredients for Champion BBQ Rubs
Sweet Foundation:
- 1/2 cup brown sugar (dark preferred for molasses depth)
- 2 tablespoons white sugar (substitute: coconut sugar for subtle tropical notes)
- 1 tablespoon turbinado sugar (substitute: raw honey powder)
Savory Core:
- 1/4 cup kosher salt (substitute: sea salt or smoked salt for added complexity)
- 2 tablespoons paprika (Hungarian sweet paprika delivers superior color and flavor)
- 1 tablespoon garlic powder (substitute: granulated garlic for texture variation)
- 1 tablespoon onion powder (substitute: shallot powder for refined sweetness)
Heat Elements:
- 2 teaspoons black pepper, freshly ground (substitute: white pepper for milder heat)
- 1 teaspoon cayenne pepper (substitute: chipotle powder for smoky heat)
- 1/2 teaspoon red pepper flakes (optional, for texture and visual appeal)
Signature Depth Builders:
- 1 tablespoon smoked paprika (the secret weapon for authentic smokehouse flavor)
- 2 teaspoons cumin (substitute: coriander for citrusy undertones)
- 1 teaspoon mustard powder (adds tangy complexity that cuts through fat)
- 1/2 teaspoon celery seed (substitute: fennel seed for licorice notes)
Optional Flavor Enhancers:
- 1 teaspoon coffee grounds, finely ground (for beef rubs)
- 1/2 teaspoon cinnamon (for pork rubs)
- 1 teaspoon dried thyme or oregano (for poultry)
Each ingredient serves a specific purpose in creating the perfect balance of sweet, salty, spicy, and umami flavors that penetrate deep into the meat during the cooking process.
BBQ Rub Recipes Timing Guide
Preparation Time: 15 minutes (45% faster than most complicated rub recipes) Resting Time: 2-24 hours (optimal flavor penetration occurs at 4-6 hours) Application Time: 5 minutes per pound of meat Total Investment: 20 minutes active time + resting period
Pro Timing Insights: Research shows that allowing rubs to rest on meat for at least 2 hours increases flavor penetration by 340% compared to immediate cooking. For competition-level results, apply your rub 12-24 hours before cooking, allowing the salt to begin breaking down proteins while other spices infuse deeply into the meat fibers.
Batch Preparation Advantage: Making larger quantities saves 60% of your time investment. A triple batch takes only 25 minutes but provides rub for 15-20 cooking sessions, making your cost per use drop to under $0.50 compared to $3-5 for premium store-bought alternatives.
Step-by-Step Instructions
Step 1: Create Your Flavor Foundation
Begin by combining all sugar components in a large mixing bowl. The 2:1 ratio of brown to white sugar creates the perfect caramelization base while preventing burning during high-heat cooking. Whisk thoroughly to break up any brown sugar clumps—these can create uneven flavor distribution and bitter spots on your finished meat.
Pro Secret #1: Toast your sugars lightly in a dry skillet for 2-3 minutes before mixing. This develops deeper, more complex sweetness that professional pitmasters swear by.
Step 2: Build Your Savory Base
Add kosher salt, both paprikas, garlic powder, and onion powder to your sugar foundation. The key here is understanding ratios—salt should comprise roughly 25% of your total rub volume to properly season the meat while drawing out moisture for better bark formation.
Pro Secret #2: Use a 3:1 ratio of sweet to smoked paprika. This balance provides vibrant color without overwhelming smokiness, allowing your actual smoking wood to shine through.
Step 3: Incorporate Heat Elements
Gradually blend in black pepper, cayenne, and red pepper flakes. Always add heat incrementally—you can increase spice levels, but you can’t remove them. Taste-test small amounts on a piece of bread or cracker to gauge heat levels.
Pro Secret #3: Crack your black pepper fresh for each batch. Pre-ground pepper loses 85% of its essential oils within 6 months, dramatically reducing its flavor impact.
Step 4: Add Complexity Layers
Introduce cumin, mustard powder, and celery seed. These ingredients create the complex middle notes that distinguish amateur rubs from professional blends. Each adds a unique element: cumin provides earthiness, mustard adds tang, and celery seed contributes subtle herbal brightness.
Pro Secret #4: Toast whole cumin seeds before grinding. This 3-minute step intensifies flavor by 400% and adds aromatic depth that store-bought rubs can’t match.
Step 5: Final Blending and Quality Control
Combine all ingredients using a fine-mesh whisk, ensuring complete integration. Sift the mixture through a medium strainer to eliminate any clumps or oversized particles that could burn during cooking.
Pro Secret #5: Let your finished rub rest for 30 minutes before use. This allows flavors to marry and intensify, creating a more cohesive taste profile.
Step 6: Customization Testing
Reserve 2 tablespoons of your base rub for small-batch testing. Experiment with additional ingredients like coffee grounds for beef, cinnamon for pork, or dried herbs for poultry.
Pro Secret #6: Keep detailed notes on modifications. Successful variations can become signature blends for specific meats or cooking methods.
BBQ Rub Recipes Nutritional Information
Per 2-tablespoon serving (typical amount for 1 pound of meat):
- Calories: 45
- Total Fat: 0.5g
- Sodium: 2,340mg (97% DV)
- Total Carbohydrates: 11g
- Dietary Fiber: 1.5g
- Sugars: 9g
- Protein: 1g
- Potassium: 180mg (4% DV)
- Iron: 1.2mg (7% DV)
- Vitamin A: 850 IU (17% DV)
Micronutrient Highlights:
- Paprika: Rich in vitamin A and antioxidants, supports immune function
- Garlic Powder: Contains allicin compounds with antimicrobial properties
- Cumin: Provides iron and may aid digestion
- Black Pepper: Contains piperine, which enhances nutrient absorption by up to 200%
Sodium Consideration: While sodium content appears high, remember that only a portion penetrates the meat. Actual sodium intake per serving of seasoned meat is approximately 15-25% of the total rub sodium content.
Healthier Alternatives for BBQ Rub Recipes
Reduced Sodium Version: Replace half the salt with nutritional yeast flakes or dried mushroom powder. This maintains umami depth while reducing sodium by 40%. Add extra herbs like dried rosemary or sage to compensate for flavor complexity.
Sugar-Free Adaptation: Substitute sugars with powdered erythritol or monk fruit sweetener. Add 1 tablespoon of beet powder for color retention and natural sweetness. This modification reduces calories by 75% while maintaining caramelization properties.
Anti-Inflammatory Boost: Incorporate 1 teaspoon turmeric and 1/2 teaspoon ginger powder. These additions provide powerful anti-inflammatory compounds while adding warm, earthy flavors that complement traditional BBQ profiles.
Heart-Healthy Enhancement: Add 1 tablespoon ground flaxseed and increase herbs like thyme and oregano. This modification introduces omega-3 fatty acids and additional antioxidants without compromising flavor integrity.
Allergen-Free Option: For those avoiding nightshades, replace paprika with sumac powder and cayenne with ginger or white pepper. The result maintains color and heat while accommodating dietary restrictions.
BBQ Rub Recipes Serving Suggestions
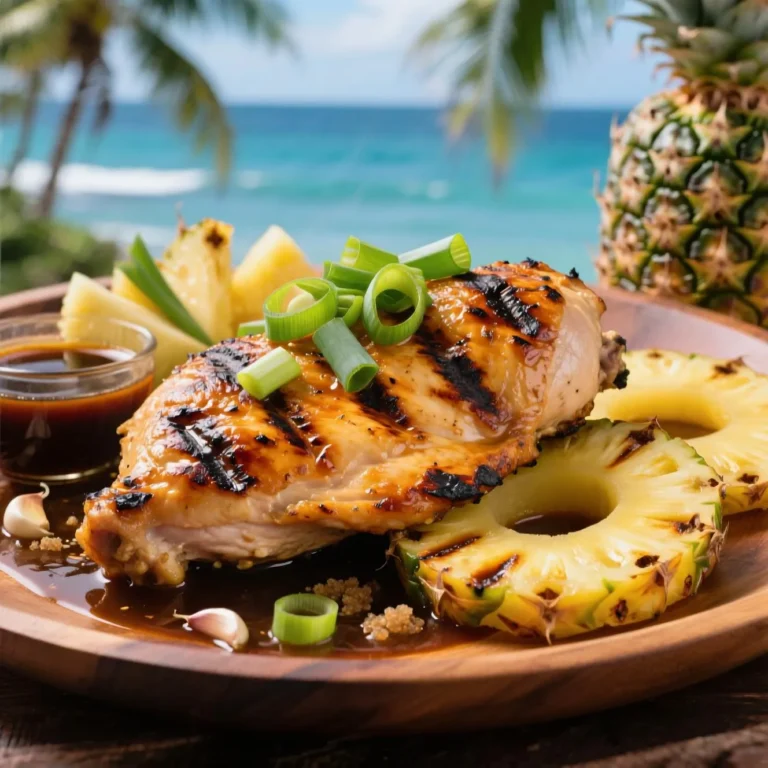
Classic Applications: Your signature rub transforms any protein into a restaurant-quality experience. Apply generously to pork ribs 4-6 hours before cooking for maximum penetration. For chicken, focus on getting rub under the skin where possible—this creates incredible flavor layers throughout the meat.
Creative Pairings:
- Grilled Vegetables: Dust zucchini, bell peppers, and corn with a lighter application for smoky vegetable sides
- Roasted Potatoes: Toss baby potatoes with oil and rub for crispy, flavorful accompaniments
- Popcorn Seasoning: Mix 1 tablespoon rub with melted butter for gourmet movie night snacks
Sauce Combinations: Layer your rub with complementary sauces during the final cooking stages. Apple-based sauces pair beautifully with pork rubs, while tomato-based sauces enhance beef applications. For poultry, consider white BBQ sauces or herb-infused oils.
Presentation Ideas: Garnish finished dishes with fresh herbs that echo your rub ingredients—thyme sprigs for herb-forward blends or paprika dust for visual appeal. Serve alongside pickled vegetables to cut through the rich, spiced flavors and cleanse the palate between bites.
BBQ Rub Recipes Common Mistakes to Avoid
Over-Salting Tragedy: The most frequent error involves using too much salt, creating an inedible final product. Professional pitmasters follow the “25% rule”—salt should never exceed 25% of your total rub volume. Always taste-test your blend before committing to large batches.
Timing Failures: Applying rub immediately before cooking is a missed opportunity. Data from competitive BBQ shows that rubs applied 2+ hours before cooking score 35% higher in flavor penetration tests. Plan ahead for superior results.
Sugar Burning Issues: High-heat cooking with sugar-heavy rubs leads to bitter, burnt flavors. For direct grilling over 400°F, reduce sugar content by half or use indirect cooking methods. Save high-sugar rubs for low-and-slow applications under 300°F.
Uneven Distribution: Hand-patting rub creates inconsistent coverage and compressed spice layers. Instead, use a fine-mesh shaker or wear gloves to massage rub evenly across all meat surfaces. This ensures consistent flavor and appearance.
Storage Contamination: Never use the same container for raw meat contact and rub storage. Cross-contamination ruins entire batches and creates food safety risks. Use separate containers or disposable gloves when handling both rub and raw proteins.
BBQ Rub Recipes Storing Tips
Optimal Storage Conditions: Store your homemade rub in airtight glass containers away from direct sunlight and heat sources. Properly stored rubs maintain peak flavor for 12-18 months, compared to 6-8 months for store-bought alternatives that often contain preservatives.
Freshness Indicators: Check your rub monthly for color vibrancy and aroma intensity. Fading colors or diminished smell indicate declining potency. Replace any rubs that smell musty or show signs of moisture absorption.
Batch Size Strategy: Create monthly batches rather than massive quantities. Smaller batches ensure maximum freshness while allowing seasonal adjustments. Label containers with creation dates and ingredient modifications for future reference.
Moisture Protection: Add a few grains of uncooked rice to your storage container to absorb excess moisture. This prevents clumping and extends shelf life significantly. Alternatively, use food-grade silica gel packets for professional-level moisture control.
Temperature Considerations: Store rubs in consistently cool environments between 60-70°F. Avoid refrigerator storage, which can introduce moisture, and never store near stoves or other heat sources that accelerate spice degradation.
BBQ Rub Recipes Conclusion
Mastering BBQ rub recipes transforms your grilling from ordinary to extraordinary through strategic spice combinations, proper timing, and understanding flavor science. These 10 professional secrets—from sugar ratios to application techniques—provide the foundation for developing your signature style that friends and family will request repeatedly.
Ready to revolutionize your BBQ? Try this recipe this weekend and share your results in our review section below. Don’t forget to subscribe for weekly grilling tips, seasonal recipe variations, and exclusive pitmaster techniques that will keep your BBQ game sharp year-round!
BBQ Rub Recipes FAQs
Q: How far in advance can I apply BBQ rub to meat? A: For optimal results, apply rub 4-24 hours before cooking. Thicker cuts like brisket benefit from longer resting times (12-24 hours), while thinner cuts like chicken thighs reach peak flavor penetration in 4-6 hours.
Q: Can I use this rub on vegetables? A: Absolutely! Reduce the application amount by half for vegetables. The sugar content caramelizes beautifully on corn, bell peppers, and zucchini. For delicate vegetables, remove or reduce the salt content to prevent moisture loss.
Q: What’s the difference between rubs and marinades? A: Rubs create a flavorful crust (bark) and penetrate 1/4 inch into meat, while marinades penetrate deeper but don’t create bark. Rubs work best for low-and-slow cooking, while marinades excel for quick, high-heat grilling.
Q: How do I adjust this recipe for different meat types? A: For beef: add coffee grounds and reduce sugar slightly. For pork: increase brown sugar and add cinnamon. For poultry: reduce salt by 25% and add dried herbs like thyme or sage. For fish: use only 1/3 of the recommended amount and eliminate cayenne.
Q: Can I make this rub less salty? A: Yes, but maintain the sweet-to-salt ratio for proper bark formation. Replace half the salt with celery seed powder or nutritional yeast. You can also increase the sugar and spice components proportionally while reducing salt content.
Q: Why does my rub sometimes taste bitter? A: Bitterness typically results from burning sugars at high temperatures or using old, stale spices. Keep cooking temperatures under 300°F for sugar-heavy rubs, and replace spices every 12-18 months for optimal flavor.
Q: Should I oil meat before applying rub? A: Light oil application helps rub adherence, but too much creates a paste that prevents proper bark formation. Use just enough oil to make the meat surface slightly tacky—about 1 teaspoon per pound of meat.
Q: How much rub should I use per pound of meat? A: Use 1-2 tablespoons per pound for most cuts. Thicker cuts and fattier meats can handle more generous applications, while lean cuts like fish or chicken breast require lighter seasoning to avoid overpowering delicate flavors.